

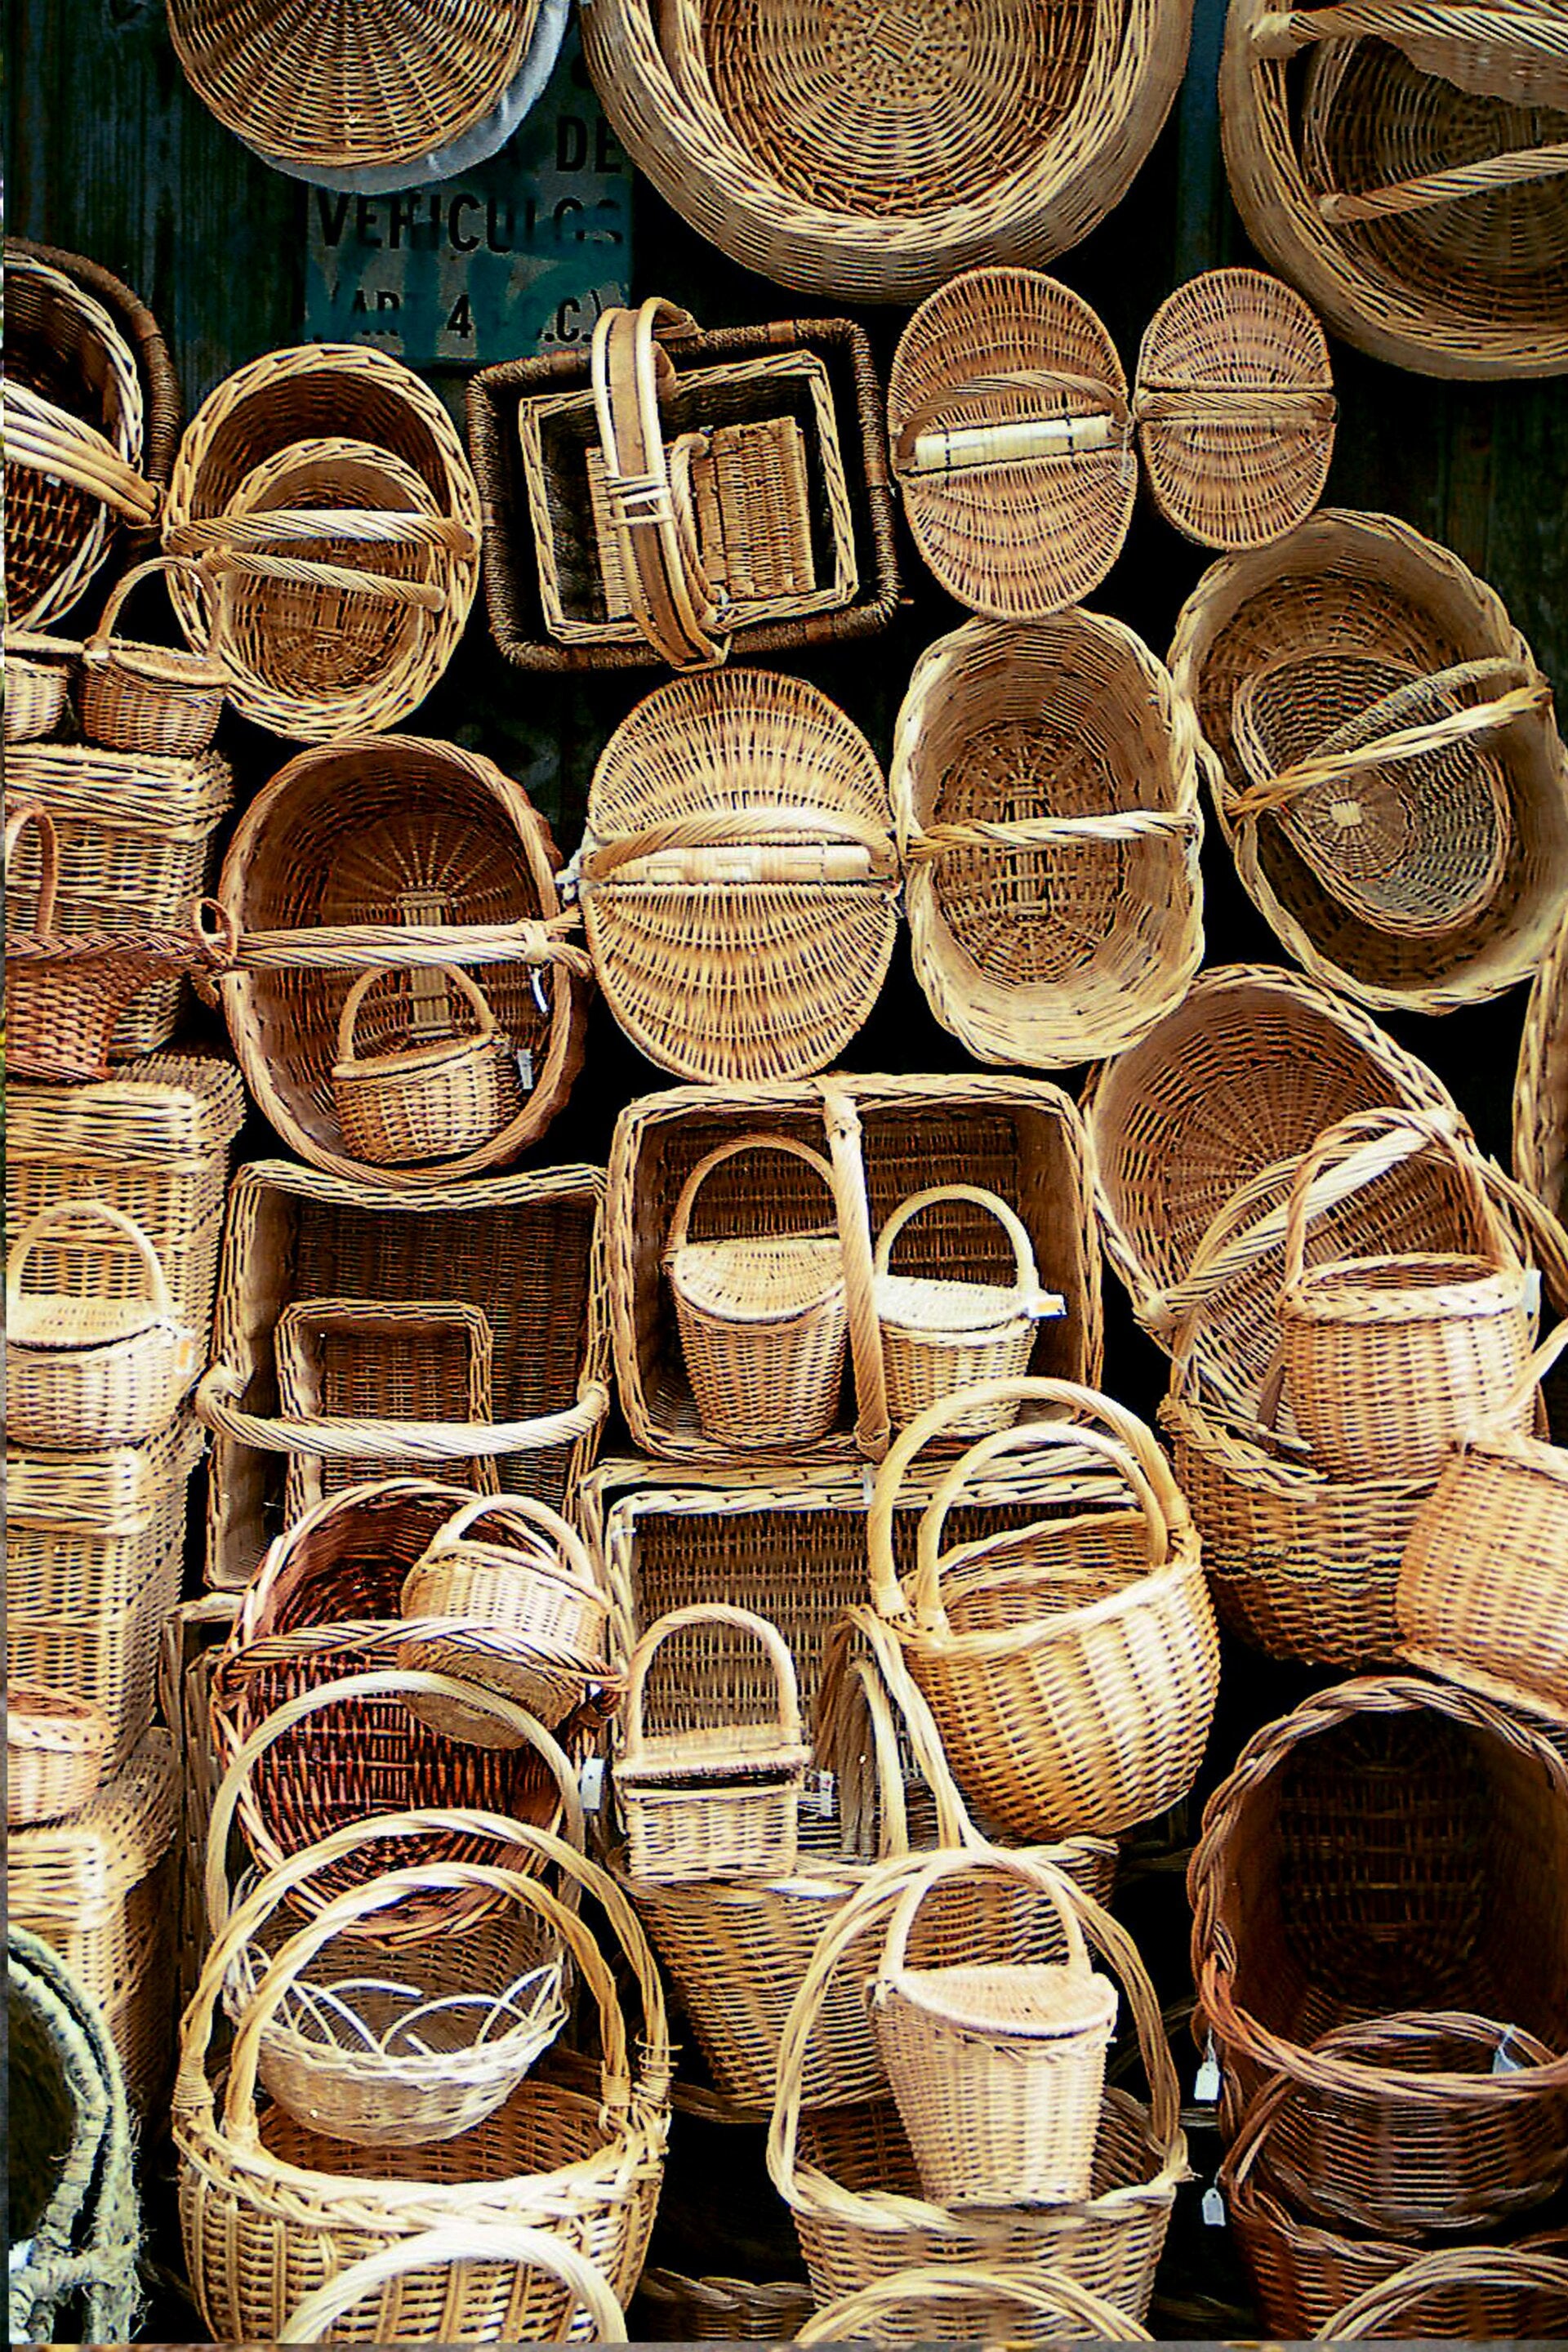
Weaving willow baskets is a rewarding craft that combines creativity with practical skill. Whether you want to create a charming storage basket or a decorative piece, learning how to weave willow baskets step by step will help you achieve beautiful results. This guide breaks down the process into clear, manageable stages so you can start weaving with confidence.
Gathering Materials and Preparing Willow
Before you start weaving, you need the right materials and preparation. Willow is a flexible, strong material ideal for basket weaving. Here’s what you need:
-
Willow rods: Choose fresh, pliable rods about 3 to 6 feet long. You can buy these from craft suppliers or harvest them yourself if you have access to willow trees.
-
Sharp pruning shears: For cutting and trimming the willow.
-
Bucket of water: Soak the rods to keep them flexible during weaving.
-
Measuring tape: To measure lengths for your basket.
-
Scissors or knife: For trimming ends neatly.
Preparing the willow rods involves soaking them in water for several hours or overnight. This softens the fibers and makes the rods easier to bend without breaking. If you skip this step, the rods may snap during weaving.
Setting Up the Basket Base
The base forms the foundation of your basket and determines its shape and size. Follow these steps:
-
Select the base rods: Choose 6 to 8 sturdy rods for the base spokes. These will radiate out like the spokes of a wheel.
-
Arrange the spokes: Lay half the rods vertically and the other half horizontally, crossing them at the center to form a grid.
-
Secure the center: Use a thin willow rod or twine to tie the spokes tightly at the center. This keeps the base stable.
-
Weave the base: Take a flexible rod and weave it in and out around the spokes, alternating over and under. Push the weaving tight to create a solid base.
The size of your base depends on how large you want the basket. For a small basket, a base diameter of 8 to 10 inches works well.
Building the Basket Walls
Once the base is complete, you can start weaving the walls. This part shapes the basket and gives it height.
-
Bend the spokes upward: Gently bend the spokes upward at the edge of the base to form the basket’s frame.
-
Choose your weaving rod: Use a long, flexible willow rod for weaving the walls.
-
Start weaving: Begin weaving the rod around the upright spokes, going over one spoke and under the next.
-
Keep tension even: Pull the weaving rod snug but not too tight to avoid warping the basket.
-
Add new rods as needed: When you run out of weaving material, tuck the end into the weave and start a new rod by overlapping it.
You can create different wall heights depending on your basket’s purpose. For example, a fruit basket might be 6 inches tall, while a laundry basket could be 12 inches or more.
Finishing the Basket Rim
The rim gives your basket a polished look and strengthens the structure.
-
Trim the spokes: Cut the upright spokes to an even height, usually about 1 to 2 inches above the last row of weaving.
-
Fold the spokes down: Bend each spoke over the rim and tuck it into the weaving on the inside or outside of the basket.
-
Weave a rim rod: Use a thicker willow rod to weave around the top edge, securing the folded spokes in place.
-
Tighten and trim: Make sure the rim is tight and neat. Trim any excess ends for a clean finish.
Adding a rim not only improves the basket’s appearance but also makes it more durable for carrying or holding items.
Tips for Successful Basket Weaving
-
Keep willow moist: If the rods start to dry out during weaving, soak them again briefly.
-
Work in a comfortable space: A flat surface with good lighting helps you see the weaving clearly.
-
Practice patience: Basket weaving takes time and practice. Don’t rush the process.
-
Experiment with patterns: Once you master the basic weave, try different weaving styles like twining or plaiting for unique textures.
-
Use natural finishes: To protect your basket, apply a light coat of natural oil or beeswax.
Add comment
Comments