

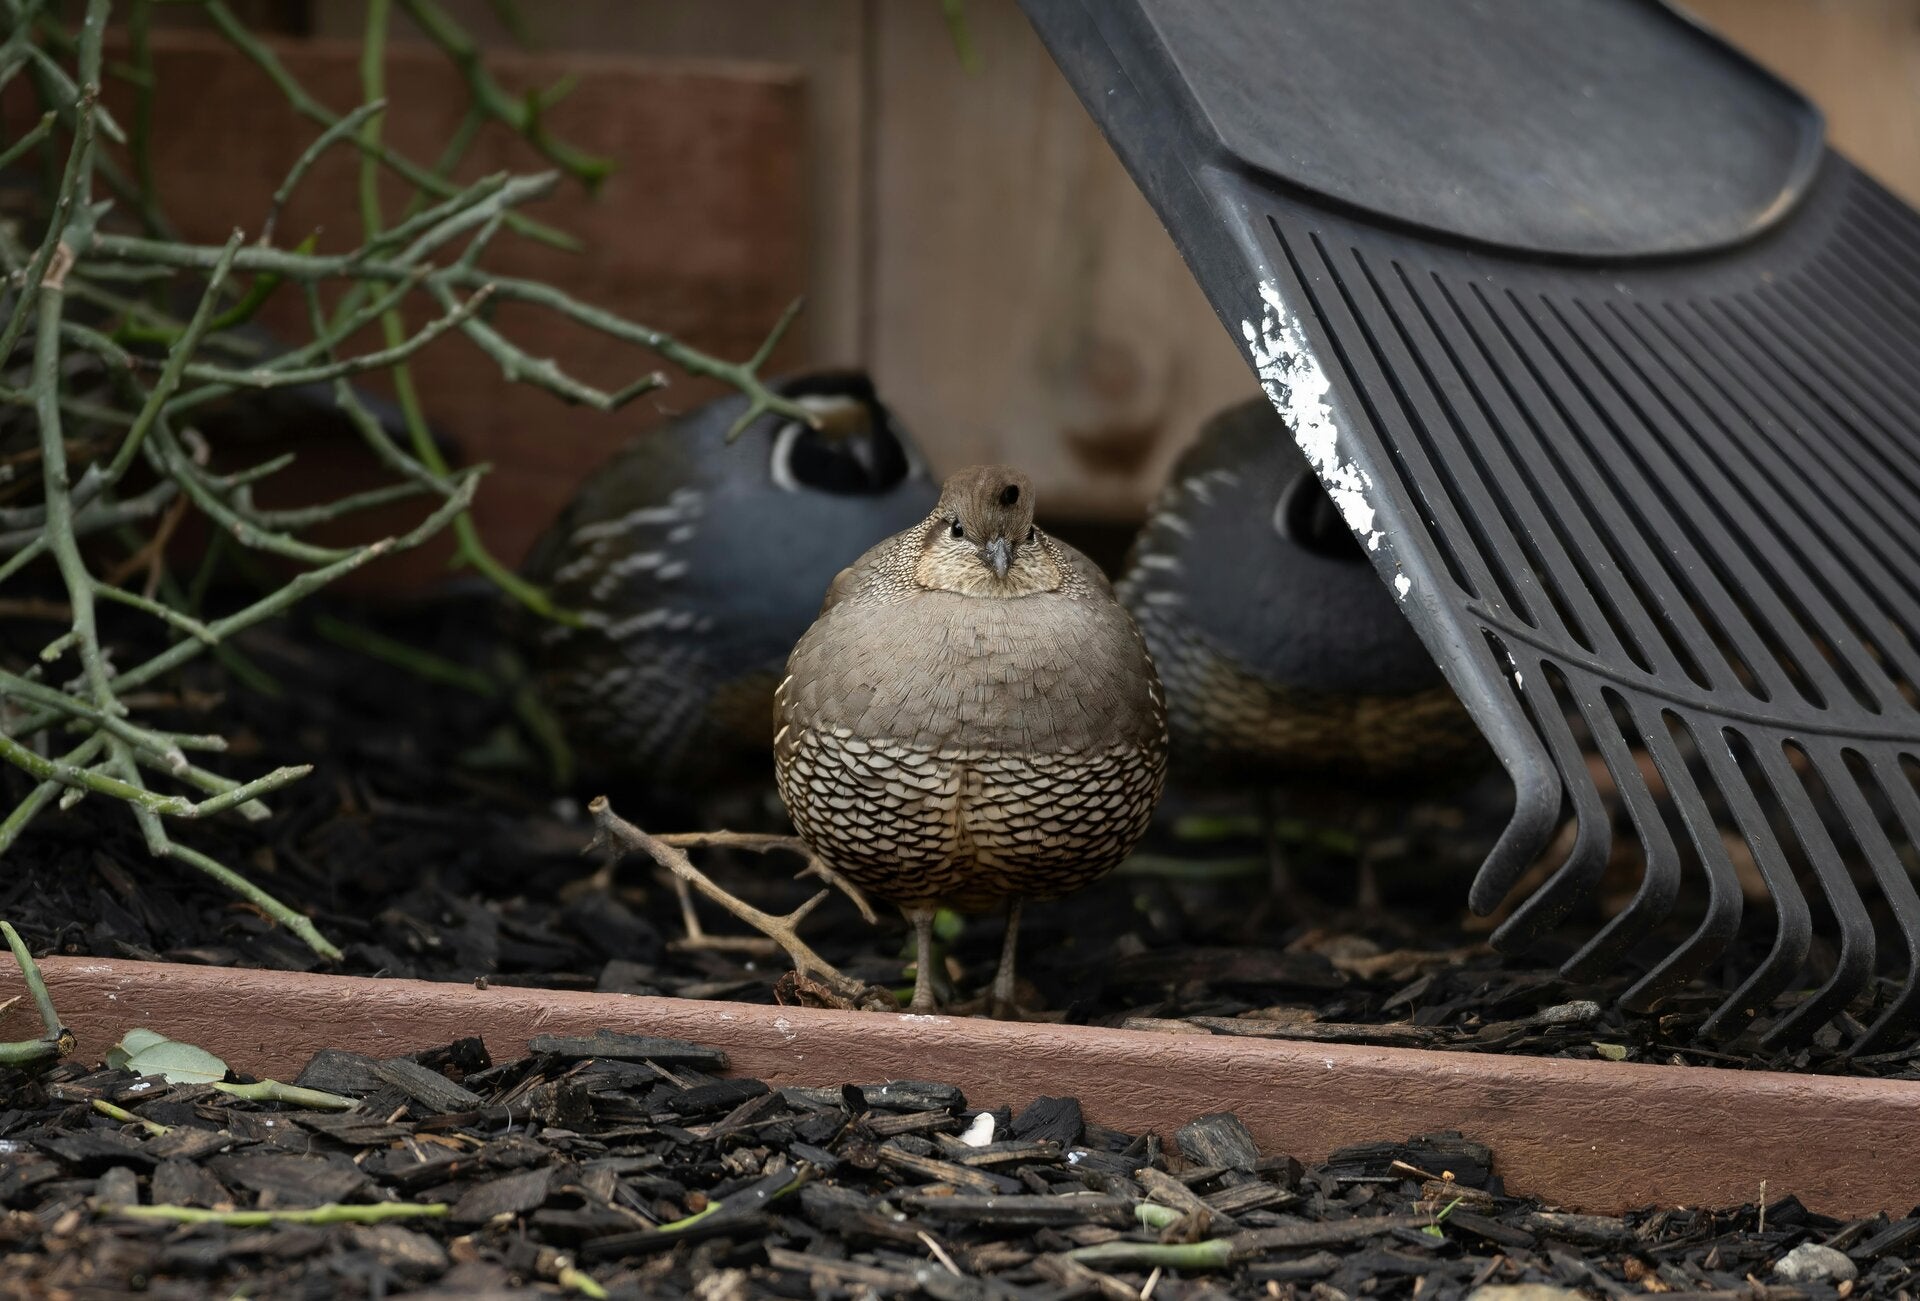
Starting a quail farm can be a rewarding venture, whether you want to produce eggs, meat, or both. Quail farming requires less space and investment compared to other poultry, making it an attractive option for small-scale farmers and hobbyists. This guide will walk you through the essential steps to set up your own quail farm, from choosing the right breed to managing daily care and marketing your products.
Choosing the Right Quail Breed
Selecting the right breed depends on your goals. Some breeds are better for egg production, while others are raised primarily for meat.
-
Coturnix Quail: The most popular breed for beginners. They mature quickly, start laying eggs at about 6 weeks, and have a good meat-to-bone ratio.
-
Bobwhite Quail: Known for their gamey flavor, they are often raised for meat but take longer to mature.
-
Japanese Quail: Similar to Coturnix but smaller, they are excellent layers and adapt well to confinement.
Consider your climate and market demand when choosing a breed. Coturnix quail are hardy and suitable for most climates, making them a safe choice for many farmers.
Setting Up the Quail Housing
Quail need a secure, clean, and comfortable environment to thrive. The housing should protect them from predators, harsh weather, and overcrowding.
-
Space Requirements: Provide at least 1 square foot per bird. Overcrowding leads to stress and disease.
-
Cage or Pen: Wire cages with solid floors are common. Ensure good ventilation but avoid drafts.
-
Nesting Boxes: Provide small boxes or covered areas for egg laying.
-
Lighting: Quail need about 14-16 hours of light daily to maintain egg production.
-
Temperature: Keep the environment between 60°F and 75°F. Use heat lamps for chicks.
Place the housing in a dry, shaded area with easy access for feeding and cleaning.
Feeding and Nutrition
Proper nutrition is key to healthy quail and good production.
-
Starter Feed: For chicks, use a high-protein feed (24-30%) for the first 6 weeks.
-
Grower Feed: After 6 weeks, switch to a feed with 20-24% protein.
-
Layer Feed: Once laying starts, provide feed with 18-20% protein and added calcium for strong eggshells.
-
Water: Fresh, clean water must be available at all times. Use shallow containers to prevent drowning.
-
Supplements: Occasionally add grit to aid digestion and vitamins to boost health.
Avoid feeding quail scraps or food meant for other poultry, as their dietary needs differ.
Breeding and Incubation
If you want to expand your flock, breeding quail requires careful management.
-
Breeder Ratio: One male for every 3-5 females is ideal.
-
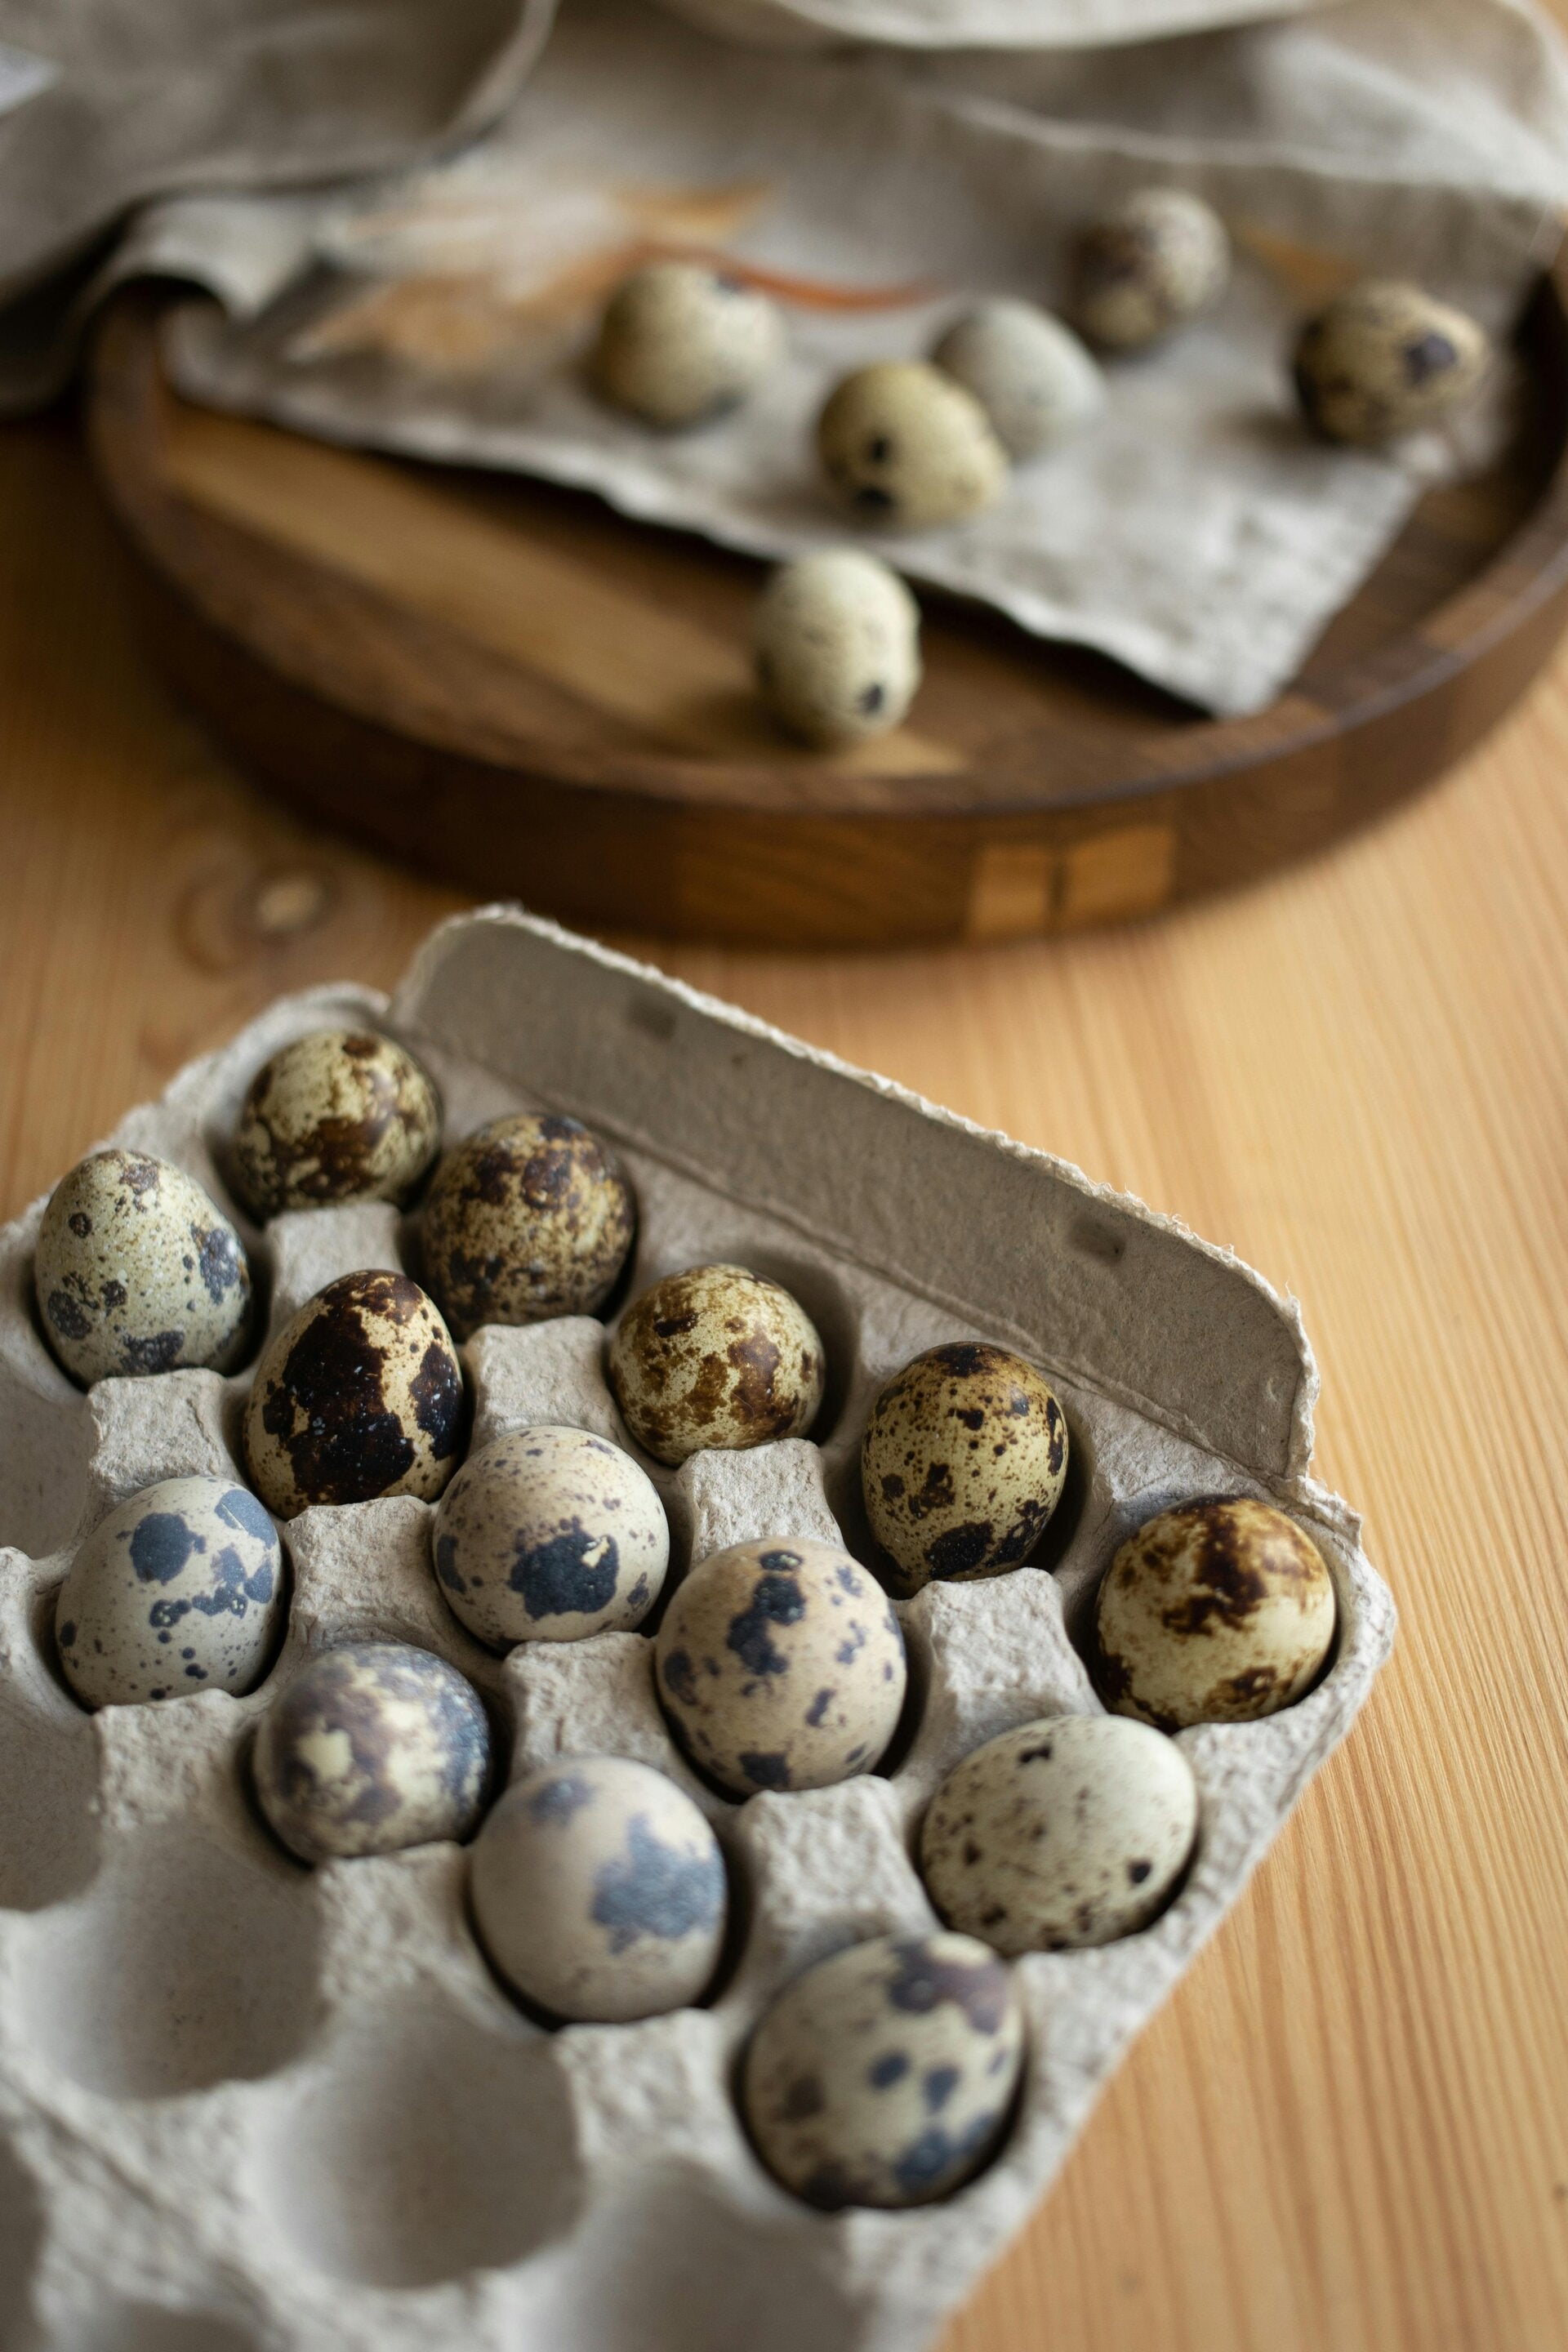
Egg Collection: Collect eggs daily to prevent damage or contamination.
-
Incubation: Use an incubator set at 99.5°F with 55-60% humidity. Turn eggs several times daily.
-
Hatching: After about 17-18 days, chicks will hatch. Move them to a brooder with heat and proper feed.
Breeding your own quail helps reduce costs and maintain a steady supply.

Health Management and Disease Prevention
Keeping your quail healthy requires regular monitoring and good hygiene.
-
Cleanliness: Clean cages and feeders daily to prevent disease.
-
Vaccination: Consult a vet about vaccines for common diseases like Newcastle disease.
-
Observation: Watch for signs of illness such as lethargy, loss of appetite, or abnormal droppings.
-
Quarantine: Isolate new or sick birds to prevent spreading infections.
-
Parasite Control: Use safe treatments to control mites and lice.
Healthy birds produce better eggs and meat, so invest time in preventive care.
Marketing Your Quail Products
Once your farm is running, you need to find buyers for your eggs and meat.
-
Local Markets: Farmers' markets and local grocery stores often welcome fresh quail products.
-
Restaurants: Chefs may seek quail meat for specialty dishes.
-
Direct Sales: Sell directly to consumers through farm stands or online platforms.
-
Value-Added Products: Consider selling processed items like smoked quail or pickled eggs.
Build relationships with customers by offering quality products and reliable service.
Add comment
Comments